
Your Stablegate company account, step by step
Short videos of every step in the company account, from sign-up and company verification to your first payment. Each one shows exactly where to click.
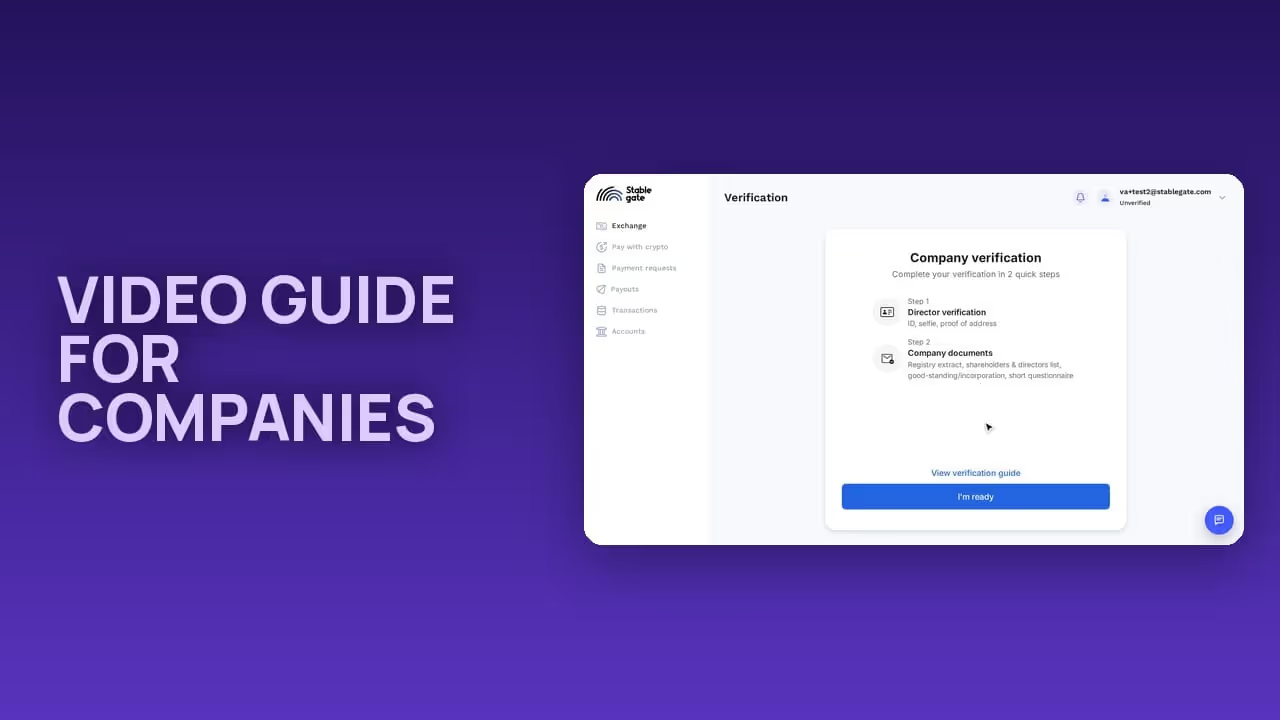
Every step of the Stablegate company account in a silent video, from sign-up and company verification to your first payment. The cursor shows where to click and the highlighted button is the one to press. Start at the top or jump to the step you need.
1. Register your company
Open app.stablegate.com/signup, choose "I'm a corporate", enter your company name, your email and a password. Read and accept the declaration and confirm the code we email you. A company account has no Instant level: exchanges and payments open once the company is verified and the account is activated.
Company verification has two parts - the director first, then the company. Only one authorised representative goes through personal identification, the other directors and owners are taken from the company documents. Choose your country, take a selfie inside the flow, upload your ID and add your residential address with a proof of it.
- ID: a valid government photo ID with an MRZ code. A passport is best, a national ID card or a residence permit works too.
- Selfie: no hat, no sunglasses, no strong light behind you.
- Proof of address: a utility bill, an official government letter or a tax notice issued within the last 6 months, showing your full name and address.
Then the company itself: its name, registration number, date and industry, the registered address, its financial standing, where its funds come from, the owners with 25% or more, the documents and a short questionnaire for the director. Sign the self-declaration, confirm the code we email you and press Send application. Filling it in takes under 10 minutes.
Have these documents ready - you can upload several files at once:
- certificate of incorporation
- company register extract from the last 6 months showing active legal status
- memorandum and articles of association
- confirmation of active status, if the extract does not show it
- certificate of directors
- shareholder and ownership structure with all ultimate beneficial owners and their percentages
We accept documents in English, German, French or Italian. In another language, attach a translation alongside the original. Once every document is in, the review takes about a week, and longer when our follow-up questions wait for an answer.
The account asks for activation right after you send the application, while we review it. Activation is required once - nothing works without it. Choose one of two ways:
- Make a transfer - a small test transfer, for example €1, from the company's own account at a fully licensed bank in one of the approved countries. The list opens from the "approved country" link. Electronic money institutions such as Revolut or Wise are not accepted. Enter the IBAN you will send from and press Continue.
- Book a video interview - when you have no bank account that meets these rules. The call takes no longer than 5 minutes, in English, with the original ID document at hand.
2. Add your bank account and crypto wallet
Accounts → Bank accounts → Add new. Paste the IBAN - the BIC and the bank name fill in by themselves. Add the holder's address and a name for the account. Then Crypto wallets → Add new: choose the network, paste the address and name the wallet. To prove the wallet is yours, send the small amount shown to our address from that wallet. The wallet is added once the network confirms the transfer.
3. Sell crypto for euros
In Exchange enter how much you sell and pick the network. You see the euros you get, the service fee and when the rate updates. Choose the bank account for the payout, check the details and create the order. Then send the crypto to the deposit address the order shows.
4. Buy crypto with euros
Enter the euros you pay, choose the coin and its network, then the wallet to receive it. The order shows our bank details. Use the purpose of payment exactly as given - that is how your transfer finds your order.
5. Set up recurring payouts
A payout template gives you a dedicated deposit wallet: crypto sent to it turns into a payout to your bank account. Payouts → Add template, choose the network, the bank account, the currency and the transfer type.
6. Pay a supplier with crypto (3rd party payments)
Pay with crypto is a 3rd party payment: we send euros from our bank account to someone else - a supplier, a contractor, anyone you pay - on your behalf. Add the recipient's bank account right in the form, write the purpose, enter what the recipient receives and create the order. Send the crypto to the deposit address the order shows. The quoted rate holds for 15 minutes, a later deposit goes through at the rate of that moment. The payment then appears in Transactions.
The recipient's bank sees STGG AG as the sender. If it asks about the payment, send it your account opening letter from Profile → Personal Info → Documents: it confirms the payment was made on your behalf. Download it before you send rather than after the bank asks.
7. Request a payment in crypto
Payment requests: enter the amount in euros, the bank account it lands on and the purpose. You get a QR code and a payment link to share. The payer chooses a crypto asset and pays, you receive euros. The request waits in Transactions until it is paid.
8. Check and raise your limits
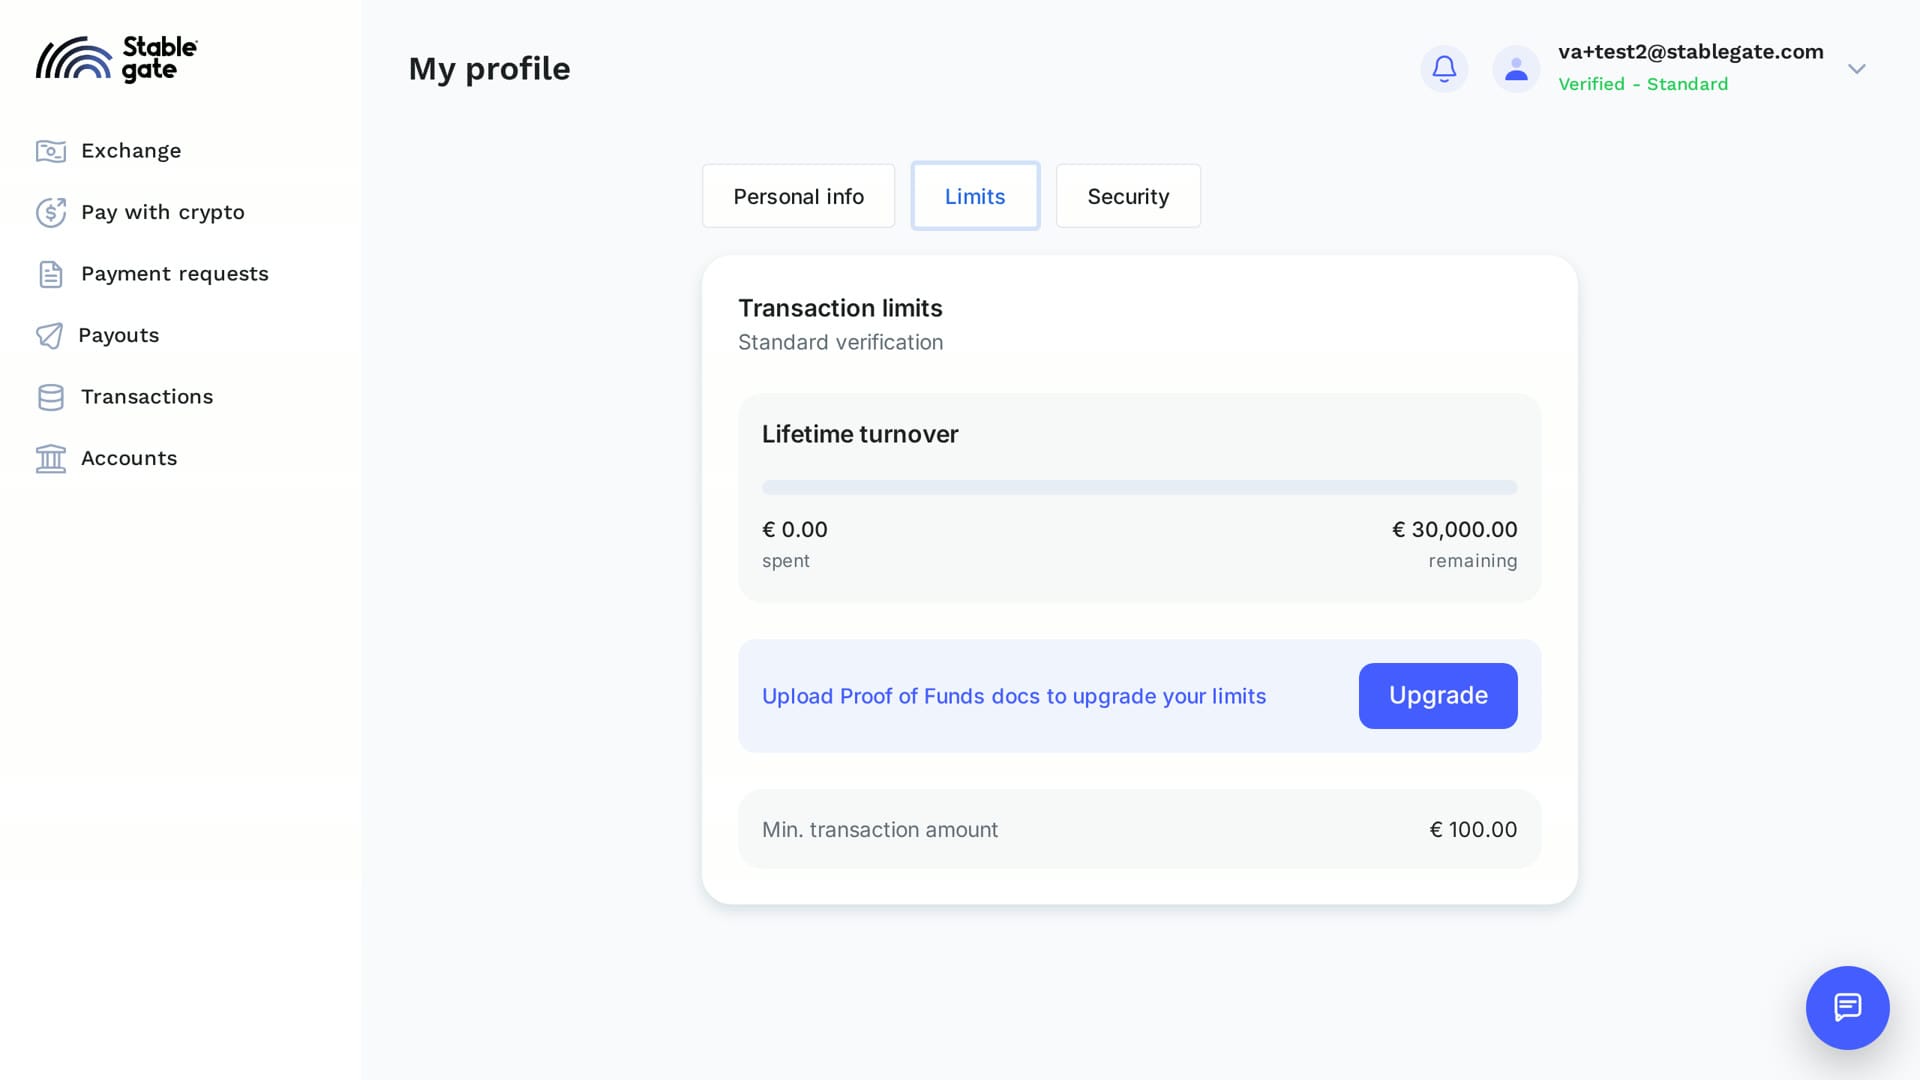
Profile → Limits shows your lifetime turnover, what is left and the minimum transaction of €100. After verification a company account is on the Standard level with a limit of €50,000. To raise it, press Upgrade and upload Proof of Funds: financial statements, bank statements from the last 6 months showing incoming funds, contracts and invoices, or documents evidencing investments or loans. You get an answer within 1 business day once everything is uploaded.
9. View and cancel orders
Your orders live in Transactions: Active shows what is in progress, History keeps everything finished. To cancel an unpaid order, open it and press Cancel transaction - it moves to History.
Stuck on a step? Write to us from the chat button in your account.
Published for general information and education only. Not investment, financial, legal, or tax advice, and not an offer or solicitation in any jurisdiction. This is not marketing - Stablegate does not market its services to persons in the EU/EEA, the UK or the US (Restricted Persons).
The views expressed are current as of the publication date and may change. Third-party quotes are attributed and used under applicable quotation exceptions. Sourced and first-party data has not been independently verified and is provided without warranty. Any forward-looking statements are illustrative only. Past performance is not indicative of future results.
STGG AG is not a MiCA crypto-asset service provider (CASP) and does not offer or onboard services to Restricted Persons via this hub. Any service relationship arises only away from this hub, at the client's own exclusive initiative.
Related articles
 Stablegate
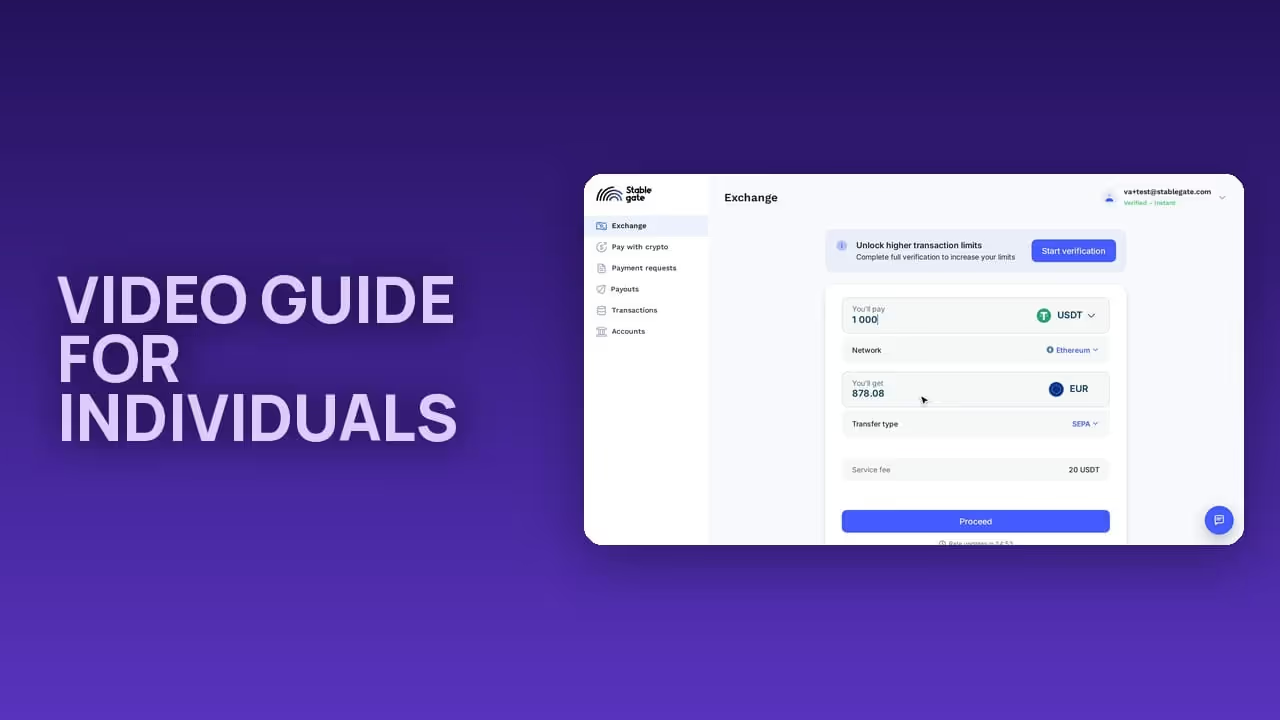
Your Stablegate personal account, step by step
Short videos of every step in the personal account, from sign-up to your first payment. Each one shows exactly where to click.
 NewsStablegate
The Standard limit is now 50,000 EUR
We have raised the lifetime limit on the Standard level from 30,000 EUR to 50,000 EUR. It applies to individuals after verification and the…
 NewsStablegate
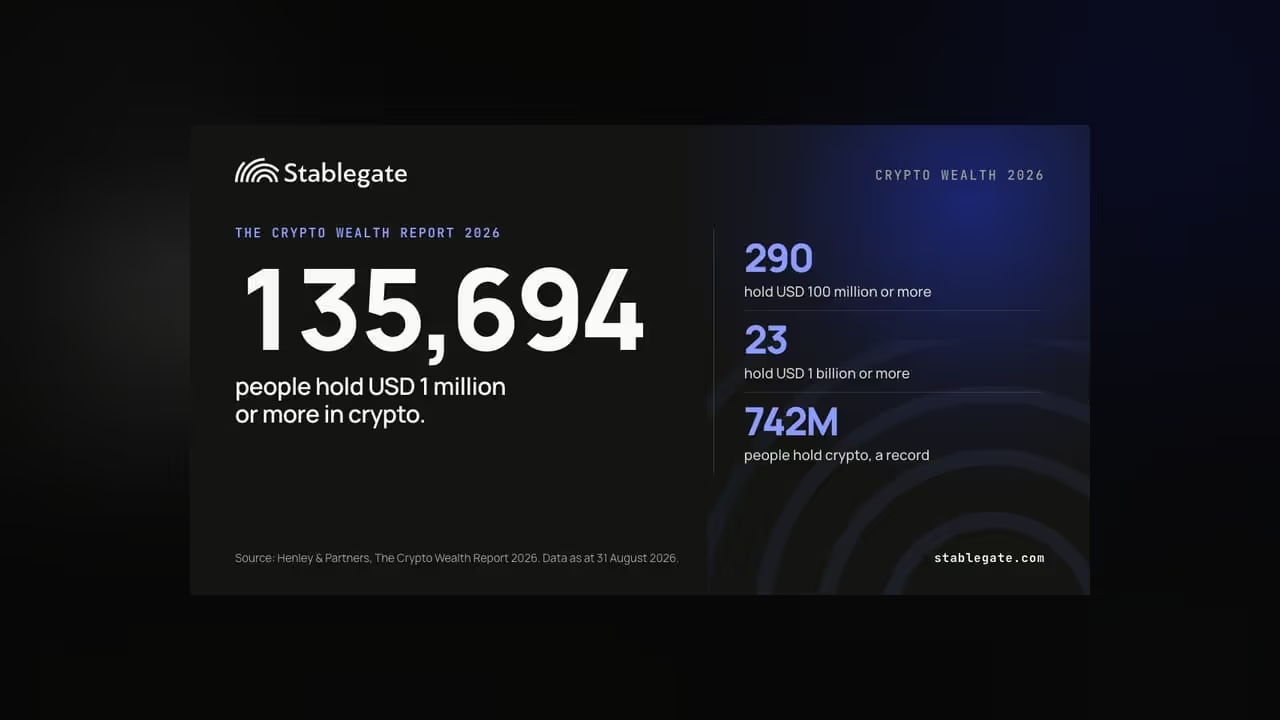
135,694 people hold USD 1 million or more in crypto
Henley & Partners counts 135,694 people with USD 1 million or more in crypto. 290 hold USD 100 million or more, 23 hold USD 1 billion or…